
Static adjustment
Last time in the series on Hugo, we looked at publishing, in this post we’ll conclude for now with our site and look at how we can adjust the output to suit our needs.
Disclaimers
Names / logos can be trademarks of their respective owners. Please review their website for details. I am independent from the organisations mentioned and am in no way writing for or endorsed by them. The information presented in this article is written according to my own understanding, there could be inaccuracies, so please do undertake your own research. The featured image / sheep in the videos are my copyright, please don’t use without my permission.
The problem
As we have seen, Hugo generates the markup for us from the data we provide it. The markdown is converted into specific tags, such as is described on markdownguide.offshoot.io/basic-syntax/. Hugo has its implementation of this. But what if we want to change this to suit our needs or a specific problem? The problem I had was that of non-responsive images, as you can see from this silent screen cast:
The image does not resize automatically with the browser window width. Typically you can solve this with CSS and target specific selectors / tags. But what if that problem has already been solved for us? Our theme for the site is using ‘Bootstrap’ and that already has a CSS class we can use ‘img-fluid’ – getbootstrap.com/docs/5.3/content/images/#responsive-images. Now we want to change the markup such that the ‘img’ tag gets the ‘img-fluid’ CSS class.
The solution
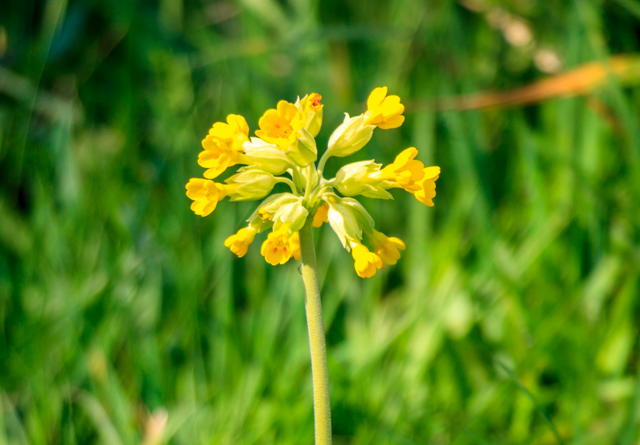
Now we understand the problem and what we want the solution to do, we look at how Hugo can do that for us. The solution is ‘Render hooks’, gohugo.io/render-hooks/introduction/, specifically the one that is for ‘Images’, gohugo.io/render-hooks/images/, as in our example, the sheep is defined in the markdown as:

Which I’ve explained in ‘Site images’ of the ‘Static images’ post.
Following what the Hugo documentation describes to us, then we need to create a markup file ‘layouts/_default/_markup/render-image.html’, in this example I’ve chosen to put it in the theme, as both the site and its theme can have a ‘layout’ folder ‘Directory structure’ – gohugo.io/getting-started/directory-structure/ – though it’s not entirely clear from this, nor ‘Template lookup order’ – gohugo.io/templates/lookup-order/#lookup-rules – that the a duplicate in the site will override the theme. Though it could be documented somewhere, I just didn’t find it.
Now we know this and with the example the Hugo documentation provides, we can create the markup interleaved with Hugo’s syntax:
<img class="img-fluid" src="{{ .Destination | safeURL }}" alt="{{ .PlainText }}" {{ with .Title}} title="{{ . }}"{{ end }} />
Where you can see that the tag class attribute has the value of ‘img-fuild’. This then results in our solution:
And that’s it. Problem solved!
Conclusion
I hope that you’ve enjoyed the series on Hugo and how we can use it to create a static website for ourselves. To recap, we have covered:
- Installation and basic site.
- Images.
- Shortcodes.
- Using a framework.
- Translate.
- Publishing.
- Adjustment.
You can get all of the code for this post from: github.com/gjb2048/hugo-elw/tree/May_2025 – please do have a go and tell me what you think.

- Success or win – 16th March 2026
- What if – 16th February 2026
- New years resolutions – 16th January 2026
