
Git For Moodle Admins, Part 2
Continuing our exploration of version control for admins (not devs!)
In our last installment, we got a basic start by cloning the main Moodle Github repository (if you haven’t done so catch up on Git for Moodle admins part 1). Today we will start pushing and pulling code between repos. The idea is to keep using the official Moodle Git as your source to download new versions, bug fixes and security updates while also keeping a copy of your own customized version of the Moodle code that you can easily deploy wherever and whenever you need it. This workflow is very valuable to support a test/dev server to production server workflow, or just to set-up your Moodle codebase the way you like and quickly pull down your customized Moodle folder for a new install.
Setting Up a GitHub Repo
To get started, visit GitHub and sign-in (or create a free account if you haven’t done so already). Once logged in, click the button to create a new repository.

- Give your repository a name, like mymoodleinstall.
- You can leave it public assuming you aren’t going to add any sensitive info to your Moodle repository (note that the Moodle git repo we’re working with is set-up to ignore your config.php file by default so sensitive data like database users or passwords will not be included. If you intend to add any files that contain sensitive data, please make your repository private).
- We’re going to be working with our existing Moodle repo, so leave the “Initialize this repository with a README” tickbox unchecked
- Likewise, leave “Add a .gitignore” and “Add a license” set to None.
- Click Create a repository

You will now have an empty repository. GitHub will present you with some information about how to start populating it. We won’t worry about this for now, but do make sure to copy down the URL of your new remote. It should be something like https://github.com/gitusername/mymoodleinstall.git
Git Remotes
Once you have the URL copied, let’s go back to the code folder we cloned from GitHub in part 1 of this series.
Open your terminal app and access your mymoodleinstall folder. Let’s check out what remote Git repositories are linked with a quick command:
git remote -v
You should see that you have one remote called origin with a push and fetch URL of https://github.com/moodle/moodle.git. That’s because we created this repo by cloning the main Moodle git repo, so it is linked to that repo with the default remote name of origin.
We’ll continue to pull any updates we need from origin, but we need to add another remote in so that we can push any customizations or changes we make locally over to our new GitHub repo. Let’s add the GitHub repo as a remote now using the git remote add command. The command takes two arguments; the name and the URL. The name is arbitrary. For the URL use what you copied earlier from your GitHub repo.
git remote add myuni https://github.com/gitusername/mymoodleinstall.git
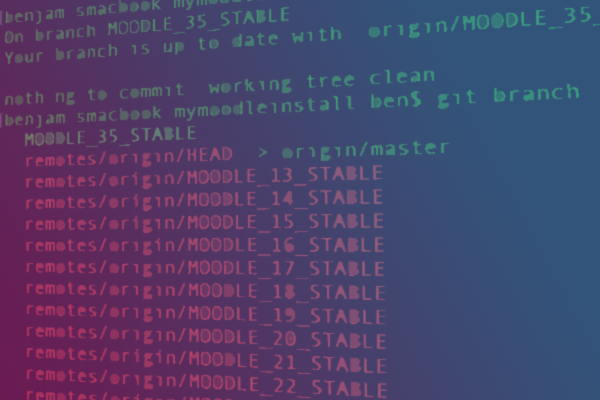
Now when you run git remote command you should see two remotes: origin pointing to the main Moodle Github, and the new the remote called myuni that points back to your GitHub repo. Here is what is looks like on my terminal.

Pushing and Pulling
If I want to pull in updates from the official Moodle repo, I can type a simple:
git pull origin
Then to push my version of the Moodle code out I can type:
git push myuni
Once my code is pushed up to my GitHub, I can easily clone my Moodle repo to deploy it anywhere I need it in seconds. For example, if I want to add my repo to a new production server I can just use the git clone command to pull down my Moodle code folder exactly as it exists on my local repository or test server. Here I’ll download it to a local folder named moodle35:
git clone https://github.com/gitusername/mymoodleinstall.git moodle35
Wrap Up
This time you learned to pull and push between repositories. We haven’t yet talked about why this is really useful: to help admins keep a customized version of their Moodle codebase (IE with a specific set of plugins or modifications) at their fingertips. Next month, we’ll explore using Git submodules to manage Moodle plugins. Submodules can be tricky, but if you take the time to understand them, they can be incredibly useful for managing a plugin-heavy Moodle codebase.

- Using Moodle to Respond to Changing Needs – 19th July 2020
- Some Office 365 favorites – 19th May 2020
- Moodle PDF Conversion Plugins: Good, Bad & Ugly – 19th April 2020


Excellent article!
But how do you prevent all your custom code edits from being overwritten when you pull from the moodle repo
Hi Paul, that’s a great question! As an admin my main focus on customization is which plugins and so on which I handle with submodules as discussed in part 3 of this series. If you are making customizations directly to the core code, you will have to manage conflicts and choose to keep any of your changes….a tricky business in any case. But Git can at least help you spot and understand differences https://help.github.com/en/github/collaborating-with-issues-and-pull-requests/resolving-a-merge-conflict-using-the-command-line
Great post Ben, very clear 🙂
This is pretty much the end of my git knowledge!
So I’m looking forward to hearing about how to handle plugins, because that’s the tricky bit I’ve stalled on before when reading about git and Moodle 🙂