
Timely Notifications in Moodle LMS
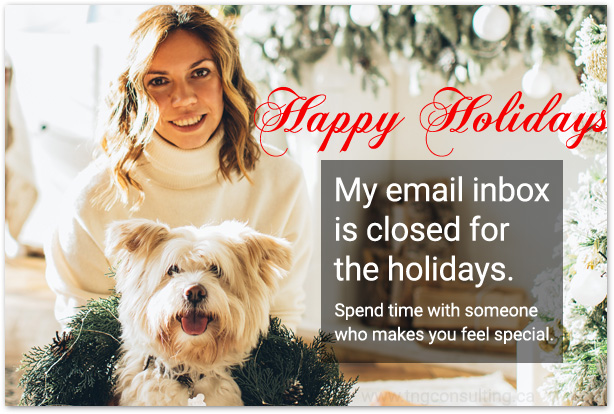
With the holiday season upon us, would it not be a thoughful idea to post a timely message on the home page of your Moodle site or perhaps in a course to notify students of things like limited office hours, closures, to remind them of deadlines or to post a warm holiday wish? And, of course, it would be even better if it would automatically remove itself when you get back (who is going to be thinking about work after all the celebrating?)
If this is your holiday wish, your Moodle LMS site can make it all come true without even adding a plugin. This native functionality comes included in every copy of Moodle, right out of the box on the Home (front) page and in courses. Some theme developers even go so far as to provide a way to post such notification messages for students throughout the site.
This technique could also be use the rest of the year to display messages about:
- Scheduled maintenance
- Upcoming events
- Holiday wishes
- Reminders or notifications related to courses
You could even schedule as many timely notifications as far in advance as you want, although I don’t recommend doing so for more than a year at a time. Then you just need to edit each of the messages once per year or semester to schedule their next occurrence.
Creating a notification message on the Home page or on a course page
The instructions to create a notification message on the site home page (frontpage) or in a course are almost identical.
- Log in. Depending on where you want to add the message, you may need to be a Moodle Teacher, Manager or Site Administrator.
- Navigate to the course or to the Home page where you want to add your message.
- Turn editing on.
- Use the Add an Activity or Resource link to add a Label type resource to your page.
- Add a message, image and/or video in the Label Text field.
- Expand the Restrict Access section.
- If you want to delay the posting of the message (default is to show immediately):
- Using the Add Restriction… button, select a Date type restriction.
- In the Access Restrictions section configure as follows:
Student “must” match the following.
Click the Eye icon to turn it off (line across it).
Date: From and then specify the date and time at which you want your message to appear.
- If you want the message to be automatically removed as of a certain date/time (default is to show forever):
- Using the Add Restriction… button, select a Date type restriction.
- In the Access Restrictions section configure as follows:
Student “must” match the following. If you previously specified a From restriction date, you must specify “all” as well.
Click the Eye icon to turn it off (line across it).
Date: Until and then specify the date and time at which you want the message to automatically be removed.
- When you are satisfied with the configured settings, scroll to the bottom of the page and use the Save and Return to course button.
- You may need to reposition the label resource to the top of the page.
- Turn editing off.
The section should look like this:

Note that users who have the capability to configure the activity or resource will still see the activity.

However, you can check the actual result by using the “Switch role to…” feature.
Tip: If you have the FilterCodes plugin installed and enabled on your Moodle site, you can personalize the messages with plain text tags like {firstname} and include any of the FontAwesome 4.7 icons available in Moodle. For example:
- {fa fa-bullhorn}
- {fa fa-graduation-cap}
- {fa fa-heart}
- {fa fa-info-circle}
- {fa fa-lightbulb-o}
- {fa fa-minus-circle}
- {fa fa-star}
- {fa fa-tree}
- {fa fa-warning}
- {fa fa-wrench}
FilterCodes also includes tags that start with {if…} which allow you to include additional messages only visible to users with special roles. Here is an example of a message to students and a personal message to teachers, managers and site administrators. Example:
Happy Holidays! See you back in the new year. {ifminteacher}And thank you so much {firstname} for contributing to our amazing faculty team here in {coursename}. Our students could not achieve their academic goals without your hard work and dedication.{/ifminteacher}
Did you know? You can use this technique on almost any activity or resource to limit their availability. Date and time are not the only options either. There are several more restriction types included with Moodle and many others available in the Moodle plugin repository.
That’s it for this month. Got to get some of my wife’s amazing Christmas cookies before they are all gone.
Happy Holidays to you, your family, colleagues and students. All the best in the new year.
Michael Milette
- Debugging SCSS in Moodle LMS – 23rd April 2024
- Moodle LMS Email Deliverability in 2024: Best Practices, Authentication Standards and Troubleshooting – 23rd February 2024
- Terminology for Those New to Moodle LMS – 20th January 2024


Thank you Stuart! I hope you found it useful. Thank you for sharing the tip about the Timed forum posts. That is a very useful tip too. For those who want more information on the using the Timed Period option in Moodle forums, see https://docs.moodle.org/en/Using_Forum#Display_period
That’s a fascinating post 🙂
I had not realised how flexible FilterCodes plugin can be.
But the simplicity of access restrictions is also very useful for these messages / alerts.
The Timed forums post could also be used in a similar way.